Building a Linux Open-Source GIS Development Environment with Windows
Using:
- Windows Subsystem for Linux Version 2
- Windows Powershell
Included:
- Node.js Dev Environment
- PostgreSQL/PostGIS
- PGAdmin4
- PG_TileServ
- PG_FeatureServ
- Jupyter Notebook
- VSCode
Part 1: Windows Subsystem for Linux
What is WSL?
The Windows Subsustem for Linux (WSL) allows you to run Linux on Windows without the overhead of a VM or (shutter) dual boot. Learn all about it here: https://docs.microsoft.com/en-us/windows/wsl/about
I originally started writing this about how to use VirtualBox to run Debian on your machine, but if your system can support WSL, it is much easier to deal with, and doesn’t destroy your battery life.
How do I get it?
The guide can be found here: https://docs.microsoft.com/en-us/windows/wsl/install-win10
I’m going to walk through the manual install because it’s really not too many steps, and it gives you an idea about what it’s doing.
System Requirements
(Copypasta’ed from the Microsoft website)
To install WSL 2, you must be running Windows 10.
- For x64 systems: Version 1903 or higher, with Build 18362 or higher.
- For ARM64 systems: Version 2004 or higher, with Build 19041 or higher.
- Builds lower than 18362 do not support WSL 2. Use the Windows Update Assistant to update your version of Windows.
To check your version and build number, select Windows logo key + R, type winver, select OK.
Security Note
You will be downloading executables from the internet and running them on your computer.
All the commands I have here are copied directly from Microsoft.com and I trust them. Make sure to verify any command before running them on your machine!
These commands require the use of Deployment Image Servicing and Management (DISM.exe) [which] is a command-line tool that can be used to service and prepare Windows images.
Begin the Install!
- Open Windows Power Shell as Administrator
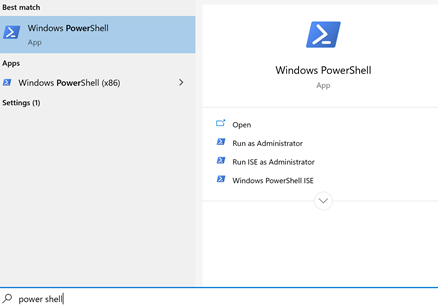
- Enable the Windows Subsystem for Linux
dism.exe /online /enable-feature /featurename:Microsoft-Windows-Subsystem-Linux /all /norestart - Enable the Virtual Machine feature thats required for WSL2
dism.exe /online /enable-feature /featurename:VirtualMachinePlatform /all /norestart - Reboot your machine!
We have been using commands that end in
/norestartto prevent dism.exe from rebooting the machine, but eventually we actually need to reboot it. - Download the Linux Kernel update package:
- https://wslstorestorage.blob.core.windows.net/wslblob/wsl_update_x64.msi
- Run the Linux Kernel Update package
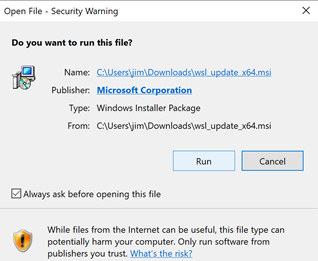
- Find the
msifile that you downloaded, and open it - If you see a window with this messaage:
This update only applies to machines with the Windows Subsystem for Linux, you will need to Follow the directions here: https://github.com/microsoft/WSL/issues/5035#issuecomment-729914763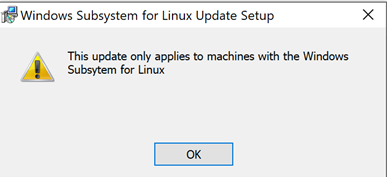
- If it all works properly, you should see this screen
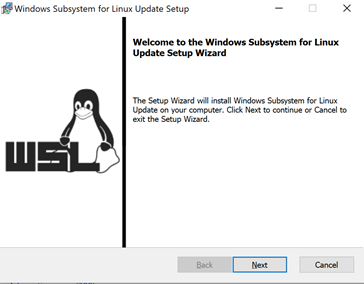
- Click next, and it should install quickly.
- Enable WSL Version 2
- Bring Power Shell back up as an Administrator and run this command:
wsl --set-default-version 2 - Youll see a kind of cryptic message
For information on key differences with WSL 2 please visit https://aka.ms/wsl2which basically means it worked! - Install a distro of linux
- I had originally written this for Debian, but it doesnt really make a difference, and there are more guides for Ubuntu, so Ill continue with Ubuntu 20.04.
- Navigate your browser to the MS Store for WSL: https://aka.ms/wslstore
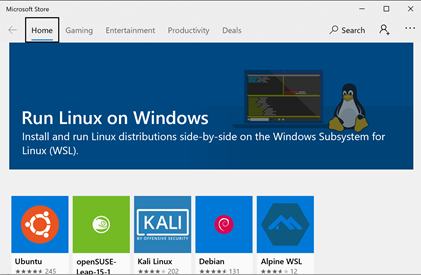
- Click
Ubuntuand clickGet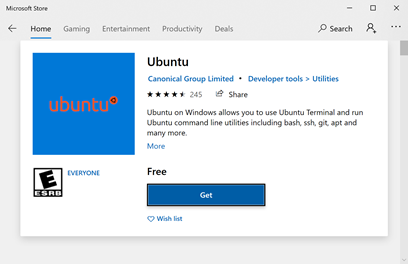
- When its done, you should see this screen:
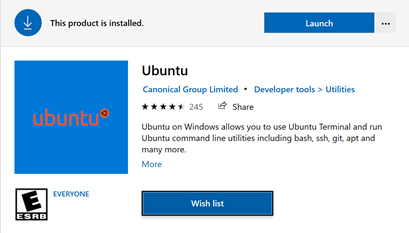
- Set up your install
- Go ahead and press that
Launchbutton.
- It doesnt take that long, and next itll ask you to make an account for yourself.

- At this point, you can also access the linux drive from your host by going to
file://wsl$or from within linux, you can go to/mnt/c/to get to the hosts C drive. 1. Be aware that the file permissions work different on the two OSes. - You can type exit now, well come back to this later!
- Install Windows Terminal (or Windows Terminal Preview)
- This is listed as optional on the MS install notes, but I would suggest it, you can get it here: https://docs.microsoft.com/en-us/windows/terminal/get-started
- They are doing great work on it right now, so Im a big fan of the preview version, which you can get here: https://github.com/microsoft/terminal/releases
- Once you have Windows Terminal installed, you can access the subsystem by simply typing WSL at the command line! (Otherwise, you would choose Ubuntu from the Start Menu).
Next
The next step is to install Docker and docker-compose, read all about that here!
